The First Duct Taped Avenger part II
Alright, it’s Halloween, and the Duct Taped Captain America costume is done. I’ll put two more posts up about the process starting with the belt and the ammo pouch. I wasn’t really going to do anything more than the armor, but I realized that it’s the details that help to sell a costume. As I was working on these, my daughter pointed out that it was a type of Duct Tape Origami.
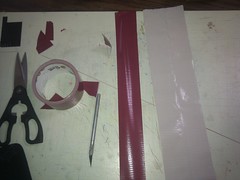
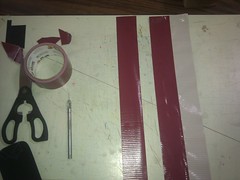
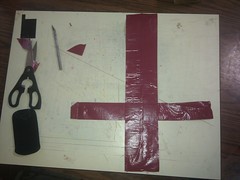
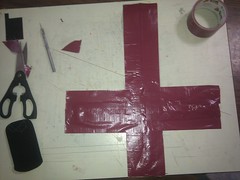
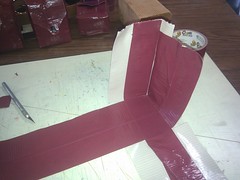
I thought it would work best to use the dimensions of the duct tape as the dimensions of the ammo pouch. One strip wide for the sides, and 2 strips wide for the front and back. I started by laying out the tape and making a sheet of duct tape material.
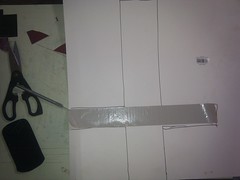
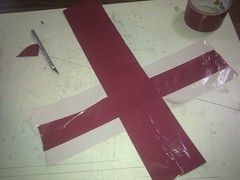
I did a bit of folding and experimenting so that I could make a template for the boxes. You can see the outline on the poster board in the photo.  This double strip of tape would act as the front, back and the flap of the bag. I laid out a piece of tape for the sides on my template, and put the double piece on top of it. I then added another piece of tape to seal it all up.
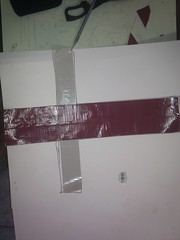
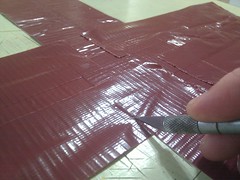
I added a strip of tape along both horizontal strips of tape and then cut along the side to prepare to fold and secure the pouch.
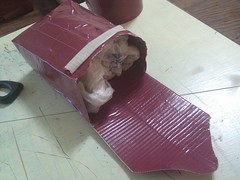
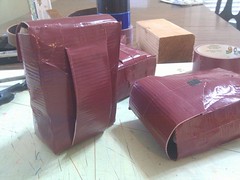
It takes a bit of patience, but next is the folding and stuffing portions. I used two grocery bags to fill the ammo pouch and help it keep it’s shape. I then cut the detail on the flap and added a strip of tape to keep the flap down.
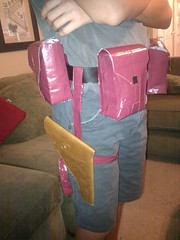
I took another strip of tape and doubled it over and made a loop on the back to secure it to an existing belt and added a couple of smaller strips to tie my Indiana Jones holster to the belt.
Next up we’ll show off the helmet.
